How to configure a Microsoft OAuth Provider
1. Intro
This guide will explain how to configure a client on Microsoft Azure and then use the information from Microsoft Azure to configure an OAuth Provider in SuiteCRM.
2. Register SuiteCRM App in Microsoft
The following steps assume that you are configuring a provider for a company account that will be shared among many users.
2.1. Go to App Registrations
Go to https://portal.azure.com/ and login
On the home page you should see a screen like the following
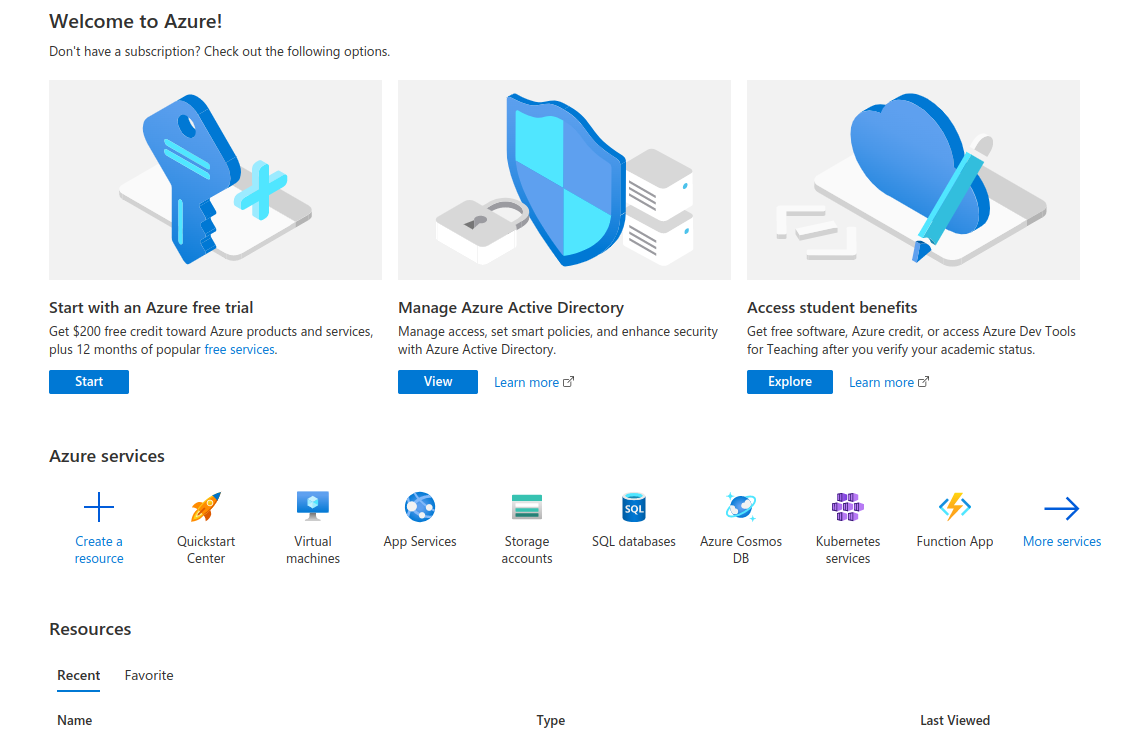
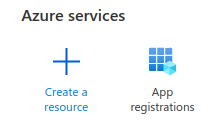
Check if there is a link to App Registrations on the home page, should look something like the following
Otherwise, go to More services and then search for the App Registrations link

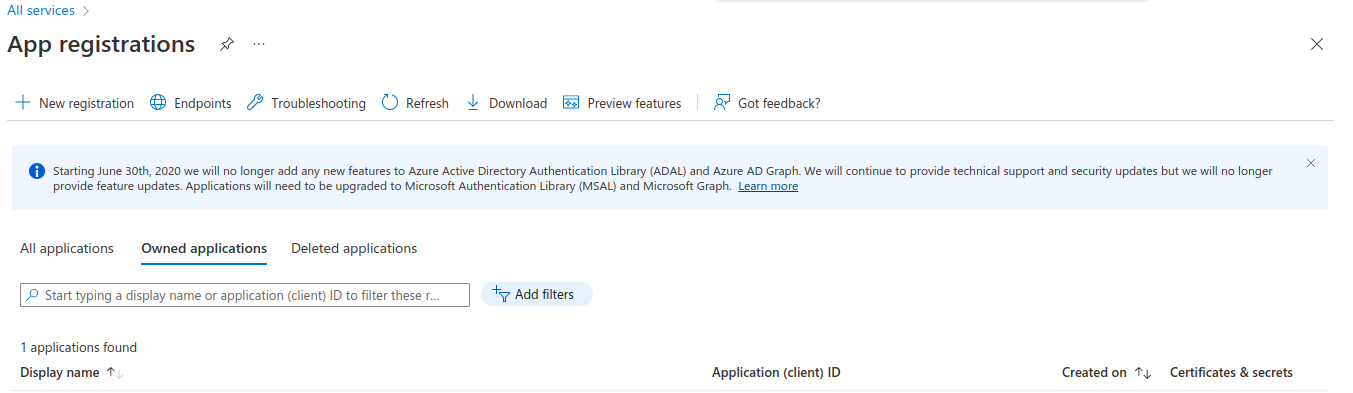
The Azure App Registrations page looks like the following
2.2. Create a New App Registration
On the App Registrations page click on the "New Registration" link

You should then see the App registration creation page
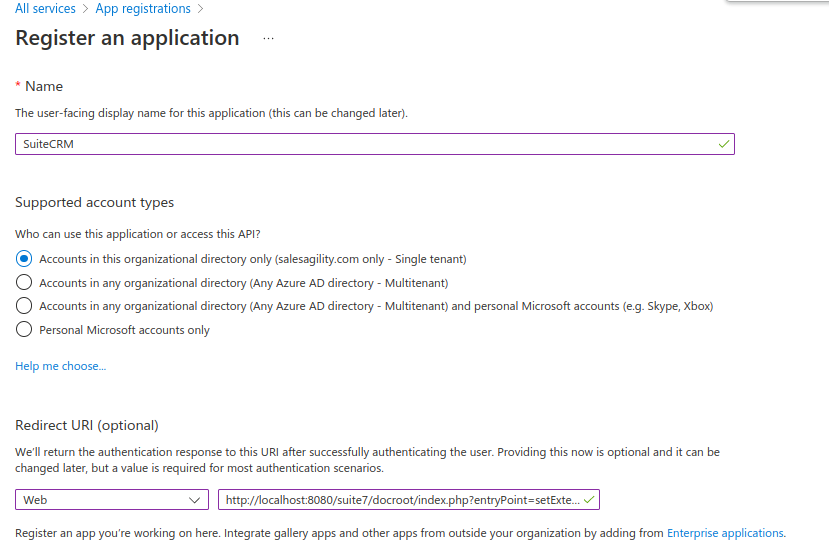
On the registration page complete the following:
-
Add a name for the registration like "SuiteCRM"
-
Select one of the "Supported account types" depending on your needs
-
Note In this example we are going to use "Single tenant", that does not mean it is the one to be used for every scenario.
-
You should select the option that is appropriate for your use case
-
-
Set a "Redirect URI". This should be similar to:
https://<your-suitecrm-instance-host>/index.php?entryPoint=setExternalOAuthToken-
Note Azure only allows https connections to host that aren’t the localhost. (the azure interface will alert you to it)
-
A host like
http://my-suitecrm.com/index.php?entryPoint=setExternalOAuthTokenis not valid -
A host like
https://my-suitecrm.com/index.php?entryPoint=setExternalOAuthTokenis valid -
A host like
http://localhost/index.php?entryPoint=setExternalOAuthTokenis valid
-
-
After filling in the information proceed with the registration
After the registration you should be re-directed to the "detail view" of the registration.
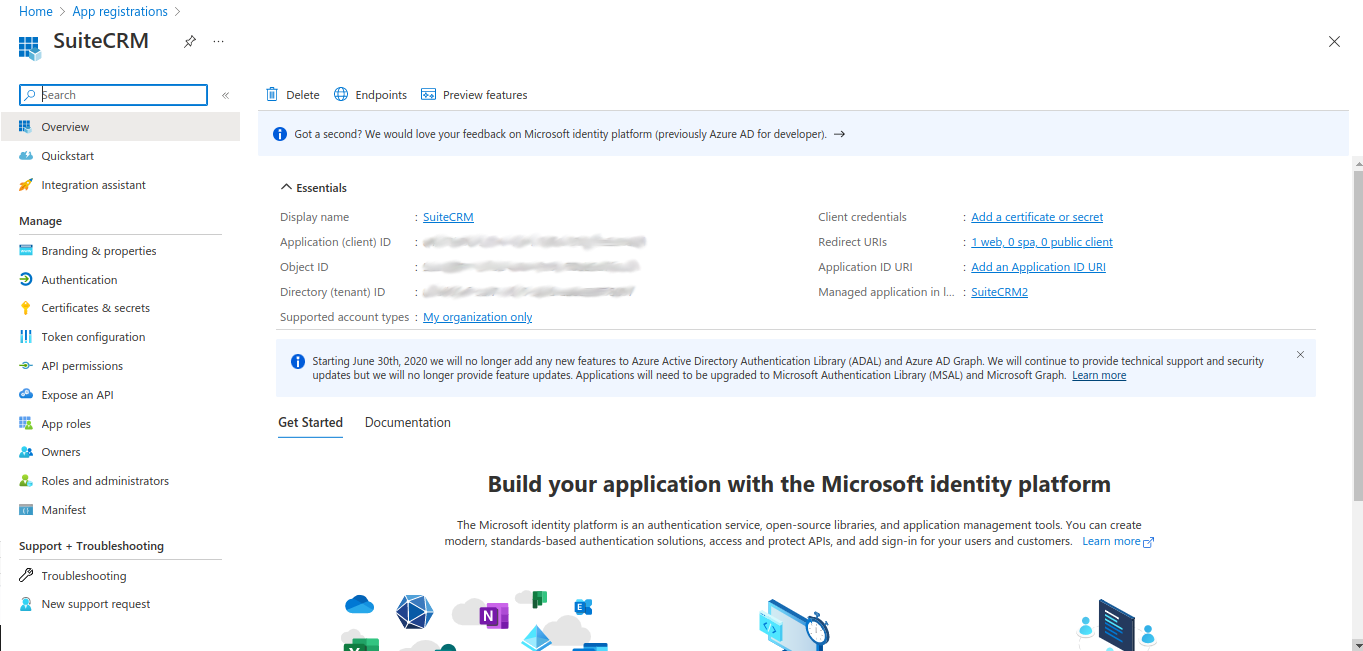
There you will find Application (client) ID that is the Client Id that will need to be configured later on SuiteCRM.

2.3. Create a client secret
The next step to take is to generate a "client secret" that will be used by SuiteCRM to communicate with Microsoft.
On your App Registration main page click "Add a certificate or secret".

This should take you to the "Certificates & secrets" page
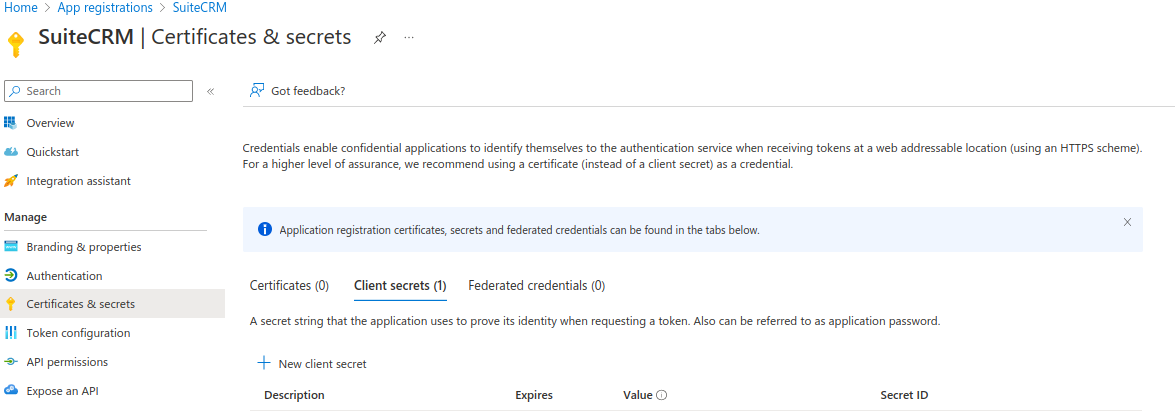
Here you can generate a new secret by clicking "New Client Secret"
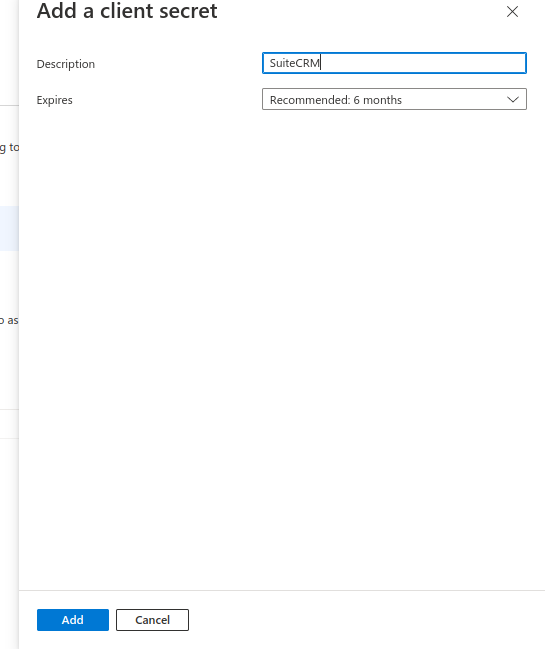
A sidebar should open where you can place the name of the secret you want to give to you secret and its duration. After setting the name and the duration click "Add".
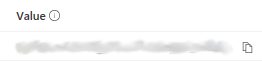
This should generate a new line on the "Certificates & secrets" page table

You should copy the "Value" by (clicking the icon next to it) for your new secret and store it in some safe place. You won’t be able to access this value again from the Microsoft Azure interface. The secret will be required on the SuiteCRM documentation.
We recommend noting the expiry date for your Client Secret and replacing the secret on a regular basis.
Once the secret expires, your email connections will fail with an error message in the logs similar to
OAuthAuthorizationService::hasConnectionTokenExpired | Access token has expired
If you see this error, generate a new secret in Azure and update it within SuiteCRM to ensure continued access.
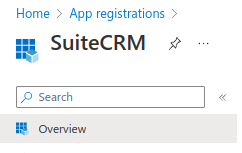
Now go back to your App Registration main page, by clicking "Overview" on the sidebar.
2.4. Define the authorized scopes
Our next step is to configure the scopes that SuiteCRM will be able to access.
Back on your App Registration main page
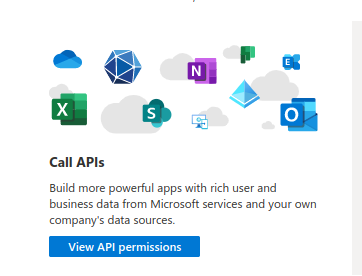
Click on "View API" permissions
This should take you to the "Api Permissions" page
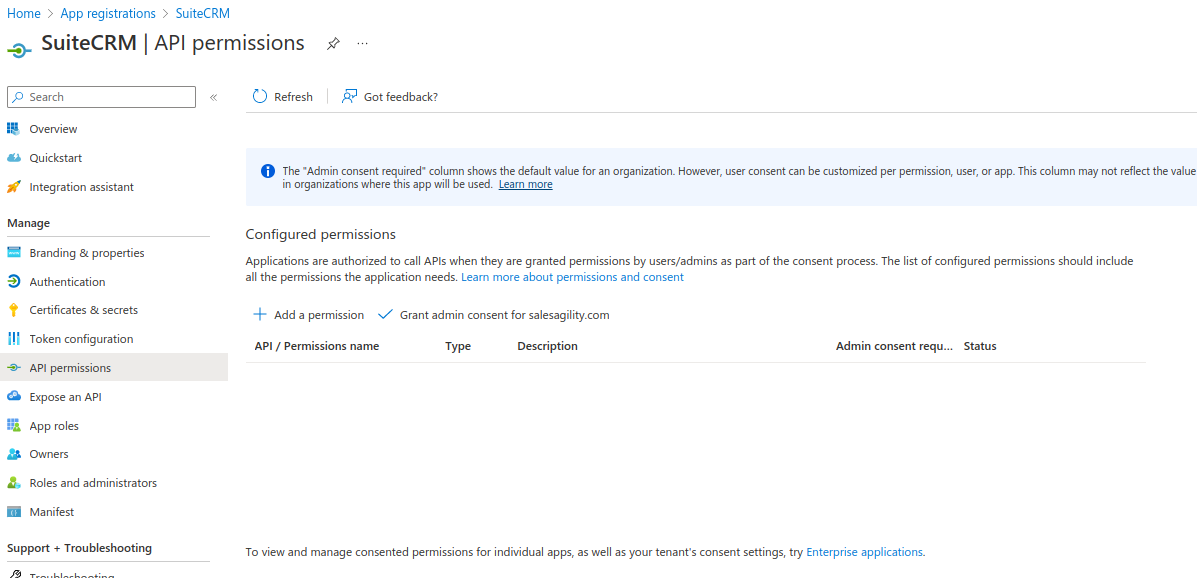
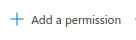
Now lets add the scopes that we allow. Click "Add a permission"
This should open a sidebar
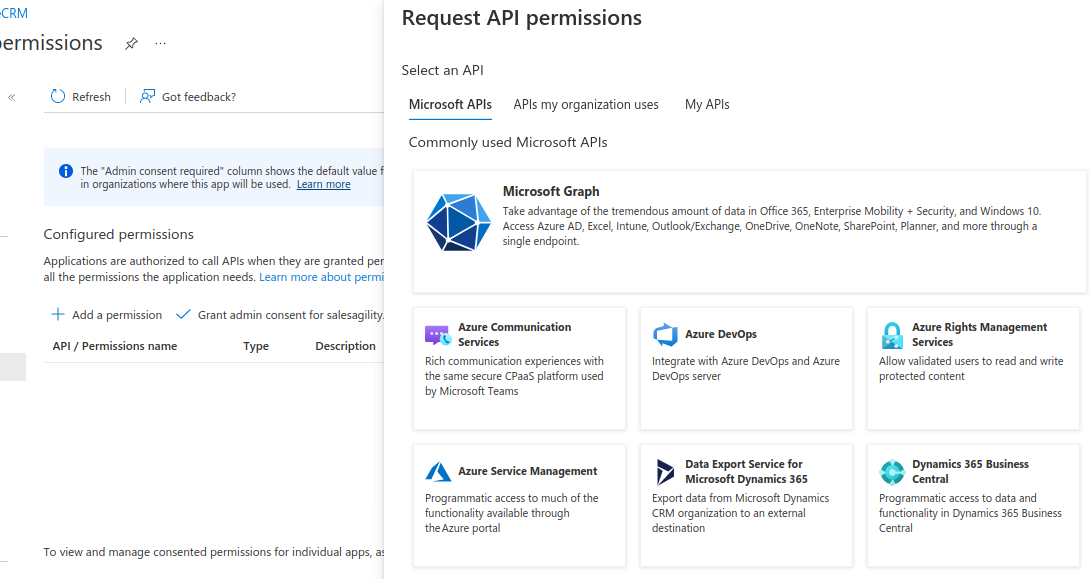
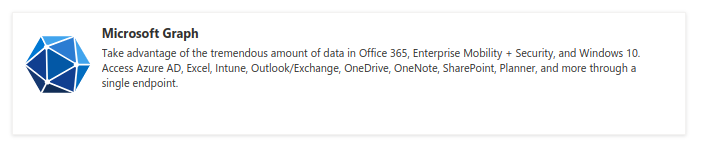
The permissions we want are under the Microsoft Graph. So click on "Microsoft Graph".
After clicking you should be prompted with which kind of permission you want to use.
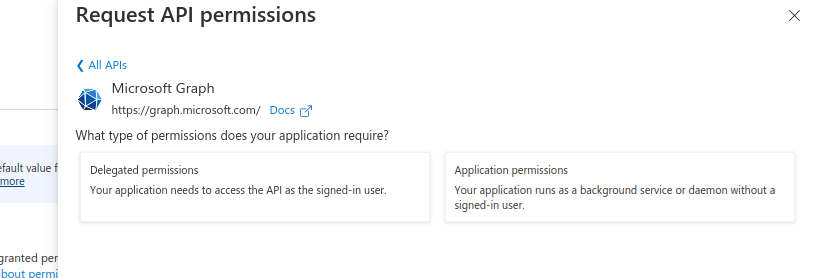
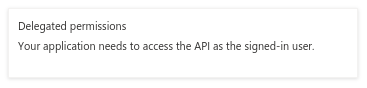
Go ahead and click "Delegate permissions"
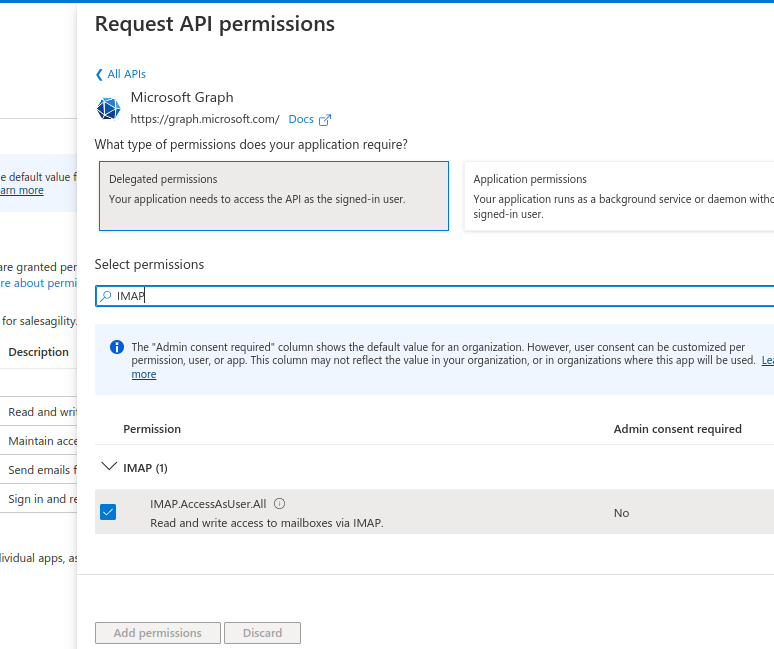
You should now see a new "Select permissions" section.
In the search bar type offline_access, that should show the offline_access permission.
Select it add then click "Add permissions"

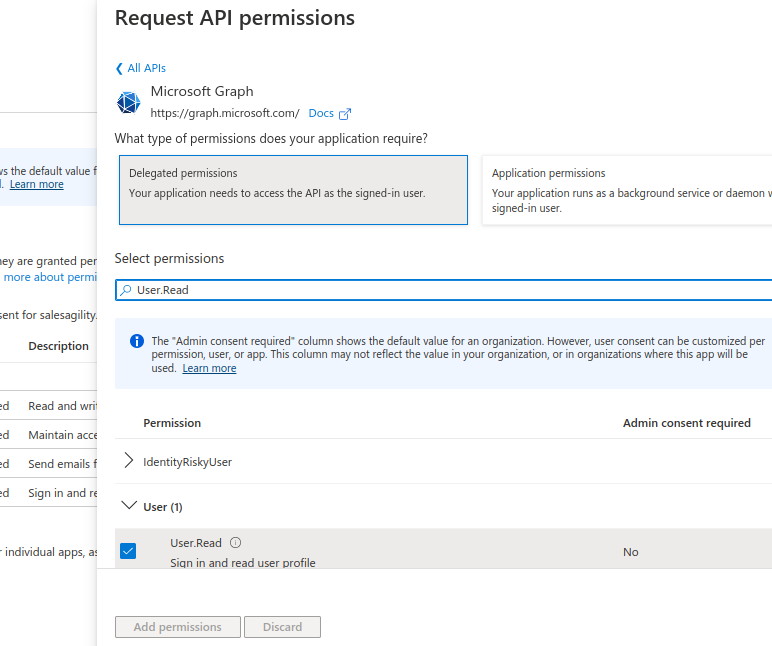
Repeat the process for the following permissions:
. IMAP.AccessAsUser.All
. User.Read
After you add all the above permissions, your permissions table should look something like the following:
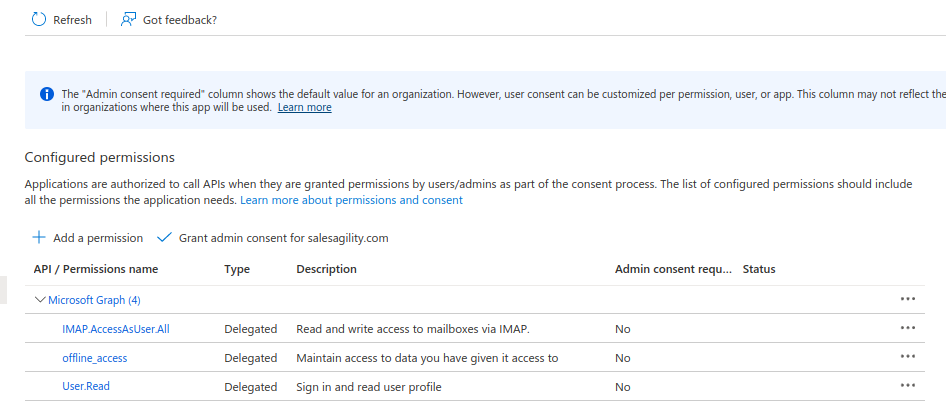
Now go back to your App Registration main page, by clicking "Overview" on the sidebar.
2.5. Define the Return URI
Our next step is to set the configurations on the "Authentication" like the Return URI and others.
Back on your App Registration main page
Click the "Redirect URIs" link

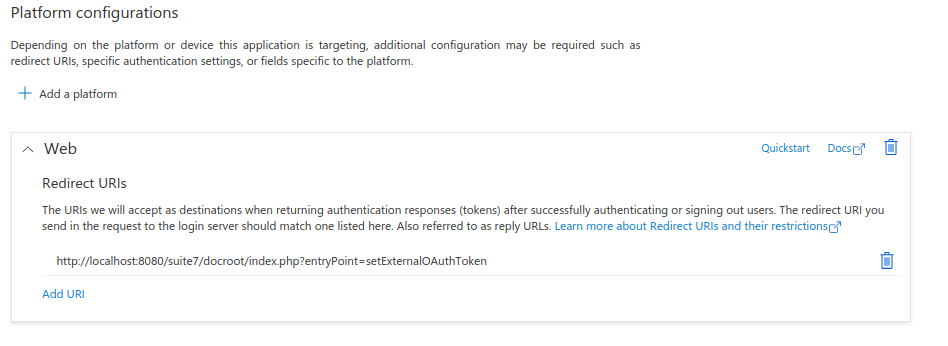
This should have taken you to the "Authentication" page.
Here you should see the Return URI that you previously configured
After that enable the "Access tokens (used for implicit flows)" option on the Implicit grant and hybrid flows section
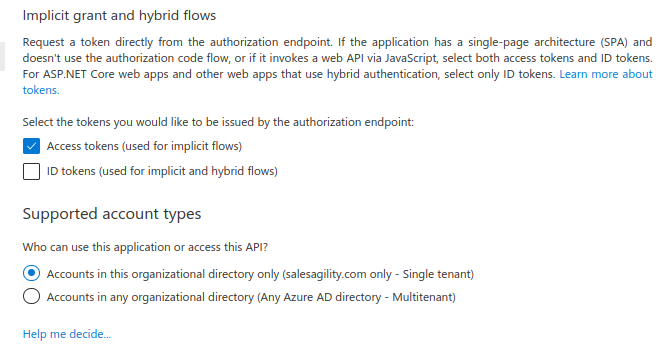
Now go back to your App Registration main page, by clicking "Overview" on the sidebar.
2.6. Retrieve the endpoint information
The last step you need to take is to retrieve the following endpoints:
-
OAuth 2.0 authorization endpoint
-
OAuth 2.0 authorization endpoint (v2)
Back on your App Registration main page
Click in the "Endpoints" link.

This should open a sidebar like the following
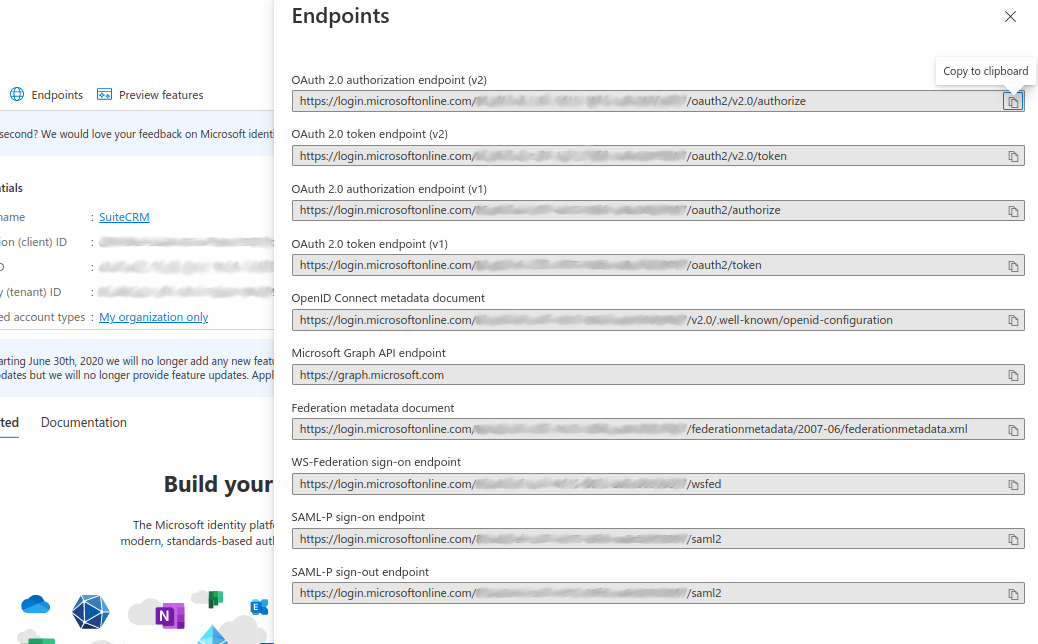
From the sidebar copy and take note of the following endpoints, that will be required to configure SuiteCRM

3. Configure the Microsoft Provider in SuiteCRM
In the following steps we are going to configure a provider that can be used by multiple users within SuiteCRM. This scenario only makes sense when you have registered an app in azure for accounts that share the same domain, usually accounts that are not @outlook accounts or similar.
Since we are going to configure a Group OAuth provider, the following steps are needed to be done by an admin user
Login into SuiteCRM as an admin user and go to the admin panel

On the admin panel search for "External OAuth Providers"
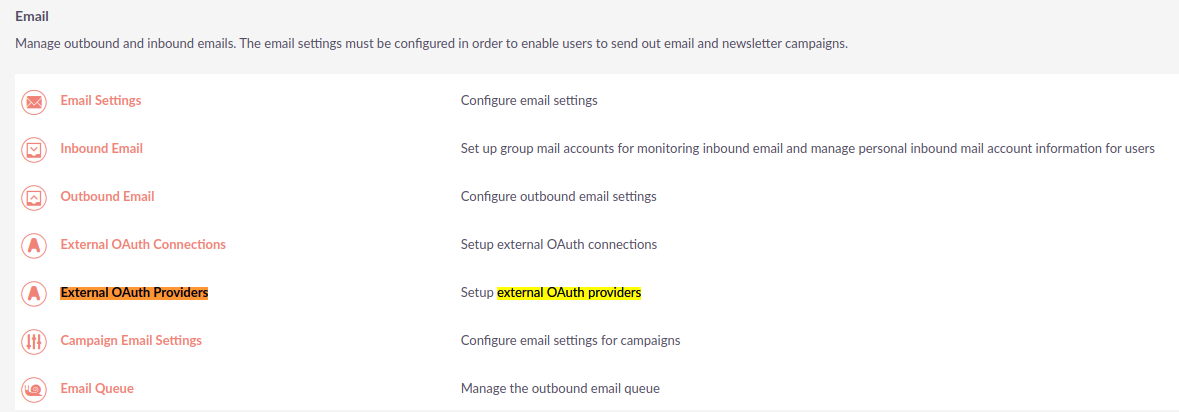
Click on the "External OAuth Providers", that should take you to the module list view
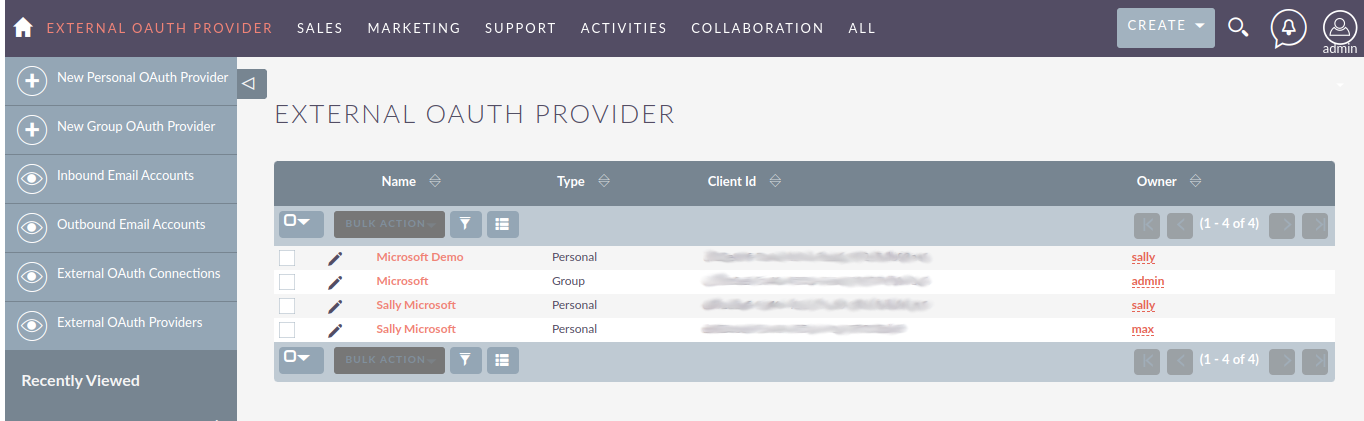
As an admin you can create two types of records:
-
Personal
-
These are only accessible by the user that created them
-
Personal records are meant to be used when configuring access to personal accounts in exiting providers, without a custom domain. I.e. when for intance configuring access to your
@gmailor@outlookaccounts. These can have a shared group configuration as for each used the "Client Id", "Client Secret" and other fields are going to be unique per account.
-
-
Group
-
Records that will be used by many users
-
Group records are meant to be use by everyone that have accounts that share the same domain, lie
@example-inc.onmicrosoft.com. The "Client ID", "Client Secret" and the other fields are going to be the same for all accounts that use this domain.
-
As mentioned before in this guide we are going to configure a provider that will be used by multiple users, so we are going to create a group record.
Click on the "New Group OAuth Provider" which should take you to the create view.
Add a meaningful name to your provider, it can be just "Microsoft", the name of your domain, or something that helps you identify and differentiate the provider from other possible providers.
Then select the "Microsoft" on "Connector" field
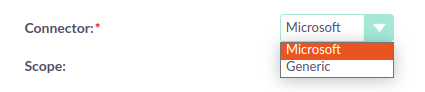
The Microsoft connector type works in the same way as the "Generic" connector type. The difference is that it has several built in defaults. This spares you some configuration steps and makes the process of configuring an External OAuth provider easier.
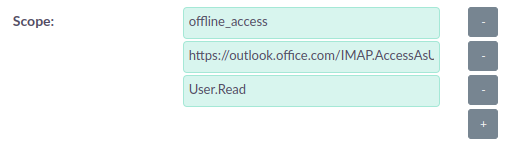
Add the "Scopes" that you want to access, the same ones you’ve configured on Azure’s API Permissions page.
-
offline_access -
User.Read
Set the "Client Id" that was generated in Azure

Set the "Client Secret" that was generated in Azure

Set the "Authorize URL" that you’ve copied from the Azure endpoints ( OAuth 2.0 authorization endpoint (v2) )


Set the "Access Token URL" that you’ve copied from the Azure endpoints ( OAuth 2.0 token endpoint (v2) )


Your record should now look something like the following:
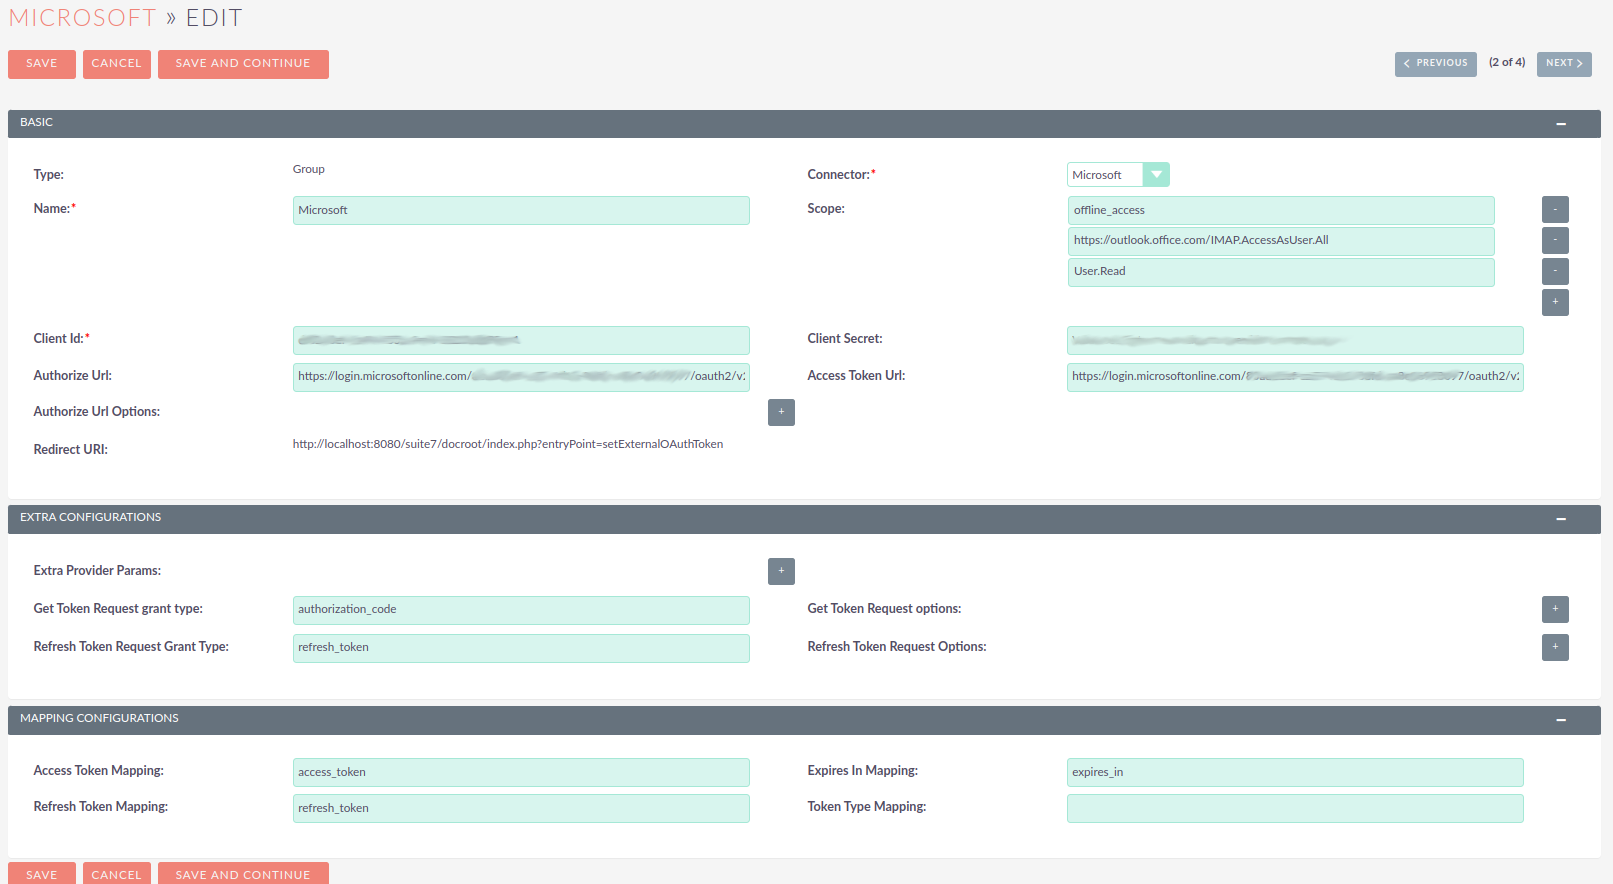
Since many of the other fields have defaults and the Microsoft connector adds other defaults, these are all the field that you should need to configure.
You can now save the record
4. Configure User Inbound emails
Now users should be able to use the OAuth Provider you have created for authenticating with Microsoft.
Check the How to configure Inbound Email with OAuth guide for the steps users need to take to configure their inbound emails using an OAuth connection.